
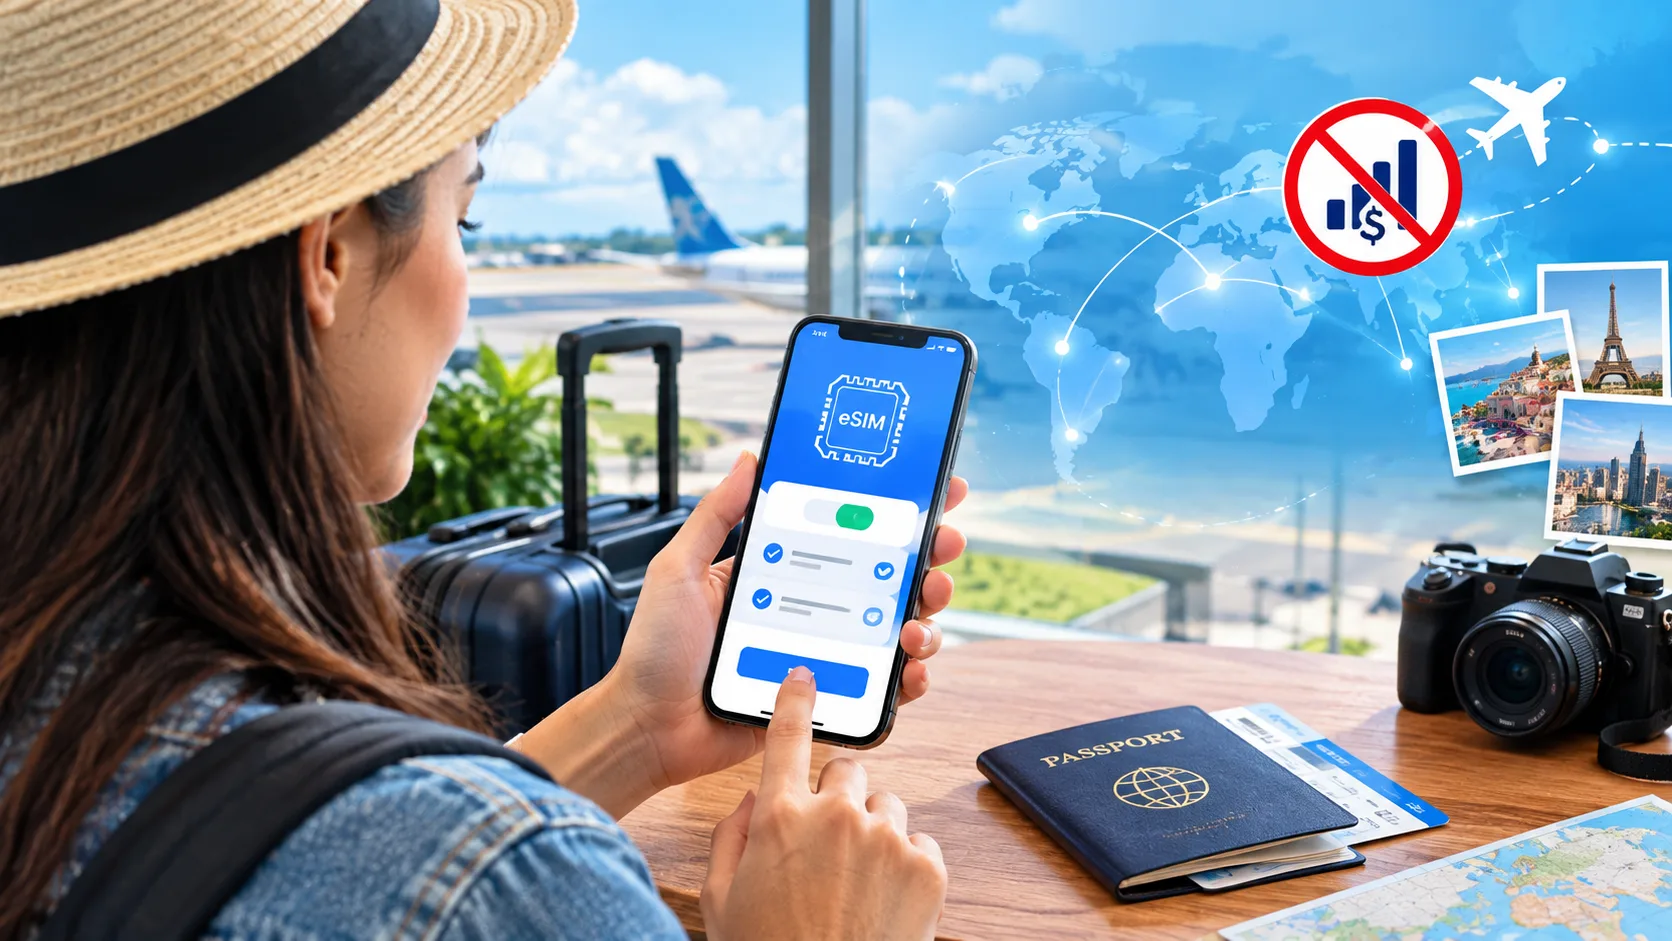
Heading abroad and not sure how to get data without a $10-a-day roaming charge? Here is the whole thing in plain English: what to do before you fly, how to install and turn on a travel eSIM, and exactly what to check when it says “No Service” after you land.
TL;DR — The Honest Quick Answer
A travel eSIM is a data plan you buy online and install on your phone before you leave. No SIM card, no airport kiosk. Setup takes about five minutes.
- Check two things first: your phone supports eSIM, and it is carrier-unlocked.
- Buy and install at home over Wi-Fi, a day or two before your flight.
- Leave it switched off until you land. It will show “No Service” until you arrive, and that is normal.
- When you land: turn on Data Roaming for the eSIM line, and set that line as your mobile data.
If it still will not connect, those last two settings are the cause about nine times out of ten. Full fix list is further down.
Why people switch to a travel eSIM
Your home carrier will happily sell you a daily pass to use your normal plan abroad. It works, and it is easy. It is also the most expensive way to get online.
Here is the rough shape of it in 2026. Treat these as ballpark figures, because carriers price by plan and by country, and published rates shift:
| Option | Typical cost | What you actually get |
|---|---|---|
| Verizon TravelPass | $10–$12 per day | Your home plan’s data, talk and text. Charges start the moment you use the phone that day. |
| AT&T International Day Pass | $10–$12 per day | Similar deal, wide country list. Hotspot rules depend on your plan tier. |
| T-Mobile (included) | $0 | Data in 215+ countries, but slowed to 256 kbps. Fine for texting. Not good for maps. |
| T-Mobile day pass | About $5 per day | Full-speed data, on qualifying plans. The cheapest of the big three. |
| No plan at all | ~$2 per MB | About $2,000 for a single gigabyte. This is the bill-shock scenario. |
| Travel eSIM | $5–$30 for the trip | Data only. A 10GB Europe plan runs roughly $20–$25 for the whole stay. |
Figures gathered September 2026 from carrier pages and provider checkouts. Always confirm the price on your own account before you travel, since day-pass rates differ between plans.
The maths is simple. A two-week trip on a $10-a-day pass is $140 in fees before you have used a single gigabyte. The same two weeks on a travel eSIM is usually $20 to $30. Where the carrier pass wins is convenience: it keeps your phone number working for calls and texts with zero setup. Most travel eSIMs are data only, so you keep your home number for texts but route the internet through the eSIM.
Before you fly: two checks that save the trip
Almost every “my eSIM didn’t work” story starts with one of these two things being skipped.
1. Does your phone support eSIM?
Dial *#06# on your keypad. If an EID number appears alongside your IMEI, your phone has an eSIM chip. If there is no EID, your phone cannot use one and you will need a physical SIM instead.
As a rough guide: iPhone XS and newer, Google Pixel 3 and newer, and Samsung Galaxy S20 and newer all support eSIM. Apple’s official eSIM setup page covers the iPhone side in detail, including how the newer eSIM-only models behave.
2. Is your phone carrier-unlocked?
A locked phone will refuse an outside eSIM profile, and you will not find out until you try to install it. Check now, not at the airport.
On iPhone: Settings › General › About and look for Carrier Lock. You want it to say “No SIM restrictions.”
On Android: turn off automatic network selection in your network settings. If several carriers show up in the list, you are unlocked.
US carriers do not charge to unlock an eligible device. Generally you need the phone paid off and the account in good standing. If a website is asking you to pay for an unlock code, you are on the wrong site. Call your carrier instead — numbers are further down this page.
How to install a travel eSIM, step by step
Do this at home on Wi-Fi. The profile download needs an internet connection, and you do not want to be doing it in an airport with a dying battery.
Pick a country plan, a regional plan, or a global plan depending on your route. Check the country list attached to the specific plan, not the big number on the provider’s homepage — a brand that advertises “200+ destinations” may be selling you a global plan that only covers 90 of them.
You will get a QR code by email, or an install button in the provider’s app. iPhone: Settings › Cellular › Add eSIM. Android: Settings › Network & Internet › SIMs › Add SIM. Scan the code, or enter the SM-DP+ address and activation code by hand.
Name your home line “Home” and the new one “Travel.” This sounds fussy, but every setting from here on asks you to pick a line, and two lines both called “Cellular” is how people end up roaming on the wrong one. Apple’s Dual SIM guide walks through labelling and defaults.
Turn the eSIM line off in settings for now. Most travel plans start counting down when the eSIM first connects to a network at your destination, so there is nothing to gain by having it live at home.
Screenshot it. Email it to yourself. If you have to delete and reinstall the profile abroad, you will need it, and you may be doing that without data.
Turn the travel line on. Set it as your mobile data line. Turn Data Roaming on for that line only. Leave your home line on for calls and texts if you want to stay reachable, but turn its data roaming off so it cannot quietly rack up charges.
Which travel eSIM should you buy?
There is no single best provider, and anyone telling you otherwise is usually being paid per click. The right one depends on where you are going, how long you are staying, and how much data you burn.
Airalo
200+
/countries and regions coveredEasiest first-time setup
- Widest country list of the major providers, including long-tail destinations
- Local, regional and global plans in one app
- Unusual long-stay options, including 90-day and 180-day Europe plans
- Allows re-downloading your eSIM profile if you have to reinstall
The honest downside: speed test results are middling compared with rivals, and it has a lower average review score than smaller providers — partly what happens when you run a network across 200 countries instead of 20.
Holafly
Unlimited
/data on most destination plansBest for heavy users
- No fixed gigabyte cap to ration
- 24/7 live chat support
- Good for short city trips with maps and video calls
Watch for: “unlimited” plans carry fair-use limits. Some throttle around 3GB a day. Read the policy for your destination before buying.
Ubigi
5G
/strong coverage in Japan and KoreaBest value per GB
- Run by Transatel, an actual mobile operator
- Often the cheapest fixed-data pricing of the big names
- Reliable rural and mountain coverage in East Asia
Watch for: in the US it runs on T-Mobile only, so rural American coverage is thin. On Android you must turn Data Roaming on for the Ubigi line or it will not connect.
Nomad
Asia
/strongest regional coveragePredictable pricing
- Flexible prepaid packages with clear expiry dates
- Dual-network access in the US, which helps in rural areas
- Re-downloads available from your order history
Watch for: sale prices are common and they do revert. Check the number at checkout rather than the one in a comparison article.
Confirm your device supports eSIM in the country where the plan is registered. This is the most common reason refund requests get turned down across every provider. It takes thirty seconds and saves an argument later.
What if you would rather just stay with your carrier?
An eSIM is cheaper, but it is not the right answer for everyone. If your trip is short, if your company is paying, or if you need your real number ringing for calls, a carrier day pass is the simpler choice. You turn it on and you are done — no profiles, no QR codes, no settings to get wrong at the airport.
Here is what the big three offer travellers in 2026. Call your carrier before you fly to confirm what your specific plan includes, because these things differ from one plan to the next.
AT&T
$10–$12
/per dayInternational Day Pass
Widest country list
- Works in 210+ countries
- Unlimited talk and text home
- Only billed on days you use the phone
Watch for: hotspot access depends on your plan tier. Check before you rely on it for a laptop.
T-Mobile
$5
/per dayon qualifying plans
Cheapest day pass
- Slower data included free in 215+ countries
- Full-speed pass costs about half the rivals
- Hotspot usually at your home-plan speed
Watch for: the free included data runs at 256 kbps. That is fine for texting, too slow for maps.
Verizon
$10–$12
/per dayTravelPass
Best for North America
- Works in 185+ countries
- Canada and Mexico included on many Unlimited plans
- Monthly plans available for longer stays
Watch for: TravelPass activates by itself the first time you use the phone that day. Checking email once costs a full day.
Under about four days, a carrier day pass is competitive and far less hassle. Longer than that and the eSIM saves real money — a two-week trip is roughly $140 on a day pass against $20 to $30 on an eSIM. There is also a middle road: run the eSIM for data and keep your home line active for calls and texts, which is what a lot of frequent travellers end up doing.
It says “No Service.” Now what?
Take a breath. The eSIM chip itself is almost never broken. In the large majority of cases one or two settings are switched off, and you can fix it in under five minutes.
Work through these in order. Stop when you get a signal.
| What you see | Most likely cause | First thing to try |
|---|---|---|
| “No Service” and you have not landed yet | Nothing is wrong | Travel eSIMs only connect inside the countries on your plan. Wait until you arrive. |
| Connected, but no internet | Data Roaming is off | Turn Data Roaming on for the eSIM line. This is the single most common fix. |
| Signal bars, still no data | Wrong line is handling data | Set the eSIM as your mobile data line. Your phone defaults to whichever line woke up first. |
| Stuck on “Activating” | Weak connection during install | Get on Wi-Fi, restart, and give it a minute or two. |
| Lost signal after crossing a border | Phone is still registered on the old country’s network | Toggle airplane mode, or restart. |
| Hotspot option has vanished | Missing hotspot APN | See the APN step below. |
The fix sequence
After landing, a phone needs a moment to find and register on a local network. If you have just switched the line on, wait before you start changing settings.
This is the number one cause of eSIM failures on arrival, and it is off by default on most phones. Your travel eSIM uses partner networks abroad, which your phone counts as roaming. This does not cost you anything extra — the roaming is included in the eSIM plan you already paid for. Just make sure you switch it on for the travel line and not your home line.
Having the profile installed is not the same as using it. iPhone: Settings › Cellular › Cellular Data and pick the travel line. Samsung: Settings › Connections › SIM Manager. Pixel: Settings › Network & Internet › SIMs.
On for ten seconds, then off. This forces the phone to search for networks again. Cheap, fast, and it works more often than it has any right to.
Power all the way off. Wait thirty seconds. Power on. Then wait one to two minutes for it to register. A quick reboot is not the same thing.
Turn off automatic network selection and try each operator in the list until one connects. Switch automatic selection back on once you are through. If you are somewhere with patchy 5G, dropping to 4G/LTE sometimes helps too.
The APN tells your phone how to reach the data network. Your provider’s activation email lists the right one. Android: Settings › Network & Internet › Mobile network › Access Point Names, then enter it and restart. iPhone usually sets the APN automatically and does not let you edit it, so if you are on an iPhone, skip to the next step.
This clears out stale settings that can block a new profile. iPhone: Settings › General › Transfer or Reset › Reset › Reset Network Settings. You will lose saved Wi-Fi passwords, so have them handy.
Only do this if nothing above worked, and only if you still have your QR code. Deleting forces a fresh download from the provider’s server. Be aware that re-download rules differ: some providers allow unlimited reinstalls, others allow one, others need you to contact support first. Check before you delete.
Get on hotel or café Wi-Fi. That at least gets you to your provider’s chat support, which can see whether the profile ever activated on their end. Do not buy a second plan until support confirms the first one cannot be recovered.
Where travel eSIMs fall short
They are the right choice for most international trips, but they are not perfect, and it is worth knowing the gaps before you rely on one.
- Usually data only. No local phone number, so you cannot receive a normal call on the eSIM line. Keep your home line active for calls and texts, or use WhatsApp and similar apps.
- “Unlimited” often is not. Fair-use policies commonly throttle after a daily amount. The limit is usually disclosed before purchase, but you have to go looking for it.
- Coverage claims are slippery. The country count in a provider’s marketing describes the whole company, not the plan you are buying.
- They do not cover cruises or in-flight Wi-Fi. Maritime and inflight roaming is billed separately and it is expensive. Turn cellular data off before boarding a ship.
- A short Mexico or Canada trip may not be worth it. Some US plans already include those countries, so check your own plan first.
Yes. That is the main advantage of the setup. Your home line stays installed and can keep receiving calls and texts, while the travel eSIM handles your internet. Just turn data roaming off on the home line so it does not bill you.
Install it before you fly, over Wi-Fi at home. Switch it on after you land. Installing early gives you time to fix problems while you still have your normal connection and your provider’s support is easy to reach.
Not if you turn it on for the travel eSIM line only. That line has no relationship with your home carrier, and the roaming is included in the plan you bought. The charge risk comes from leaving roaming on for your home line, so switch that one off.
Because it is working as designed. A travel eSIM only connects inside the countries on your plan. Until you land there, “No Service” or “Activating” is the expected message and not a sign of a fault.
Usually under five minutes, and often one or two. If you have waited ten to fifteen minutes with data roaming on and the correct data line selected, work through the fix sequence above or contact your provider for a fresh activation code.
Most providers allow it, but rules vary by plan, and hotspot use burns data far faster than phone use. On some Android phones, tethering needs “dun” added to the APN type. On iPhone, if the Personal Hotspot option has disappeared, entering your data APN in the hotspot APN field usually brings it back.
Call your carrier straight away using the numbers above — some unlocks process within hours. If it will not come through in time, a physical local SIM bought at your destination is the fallback, since it does not require the same profile permissions. Buy from the carrier’s own airport counter rather than a street kiosk.