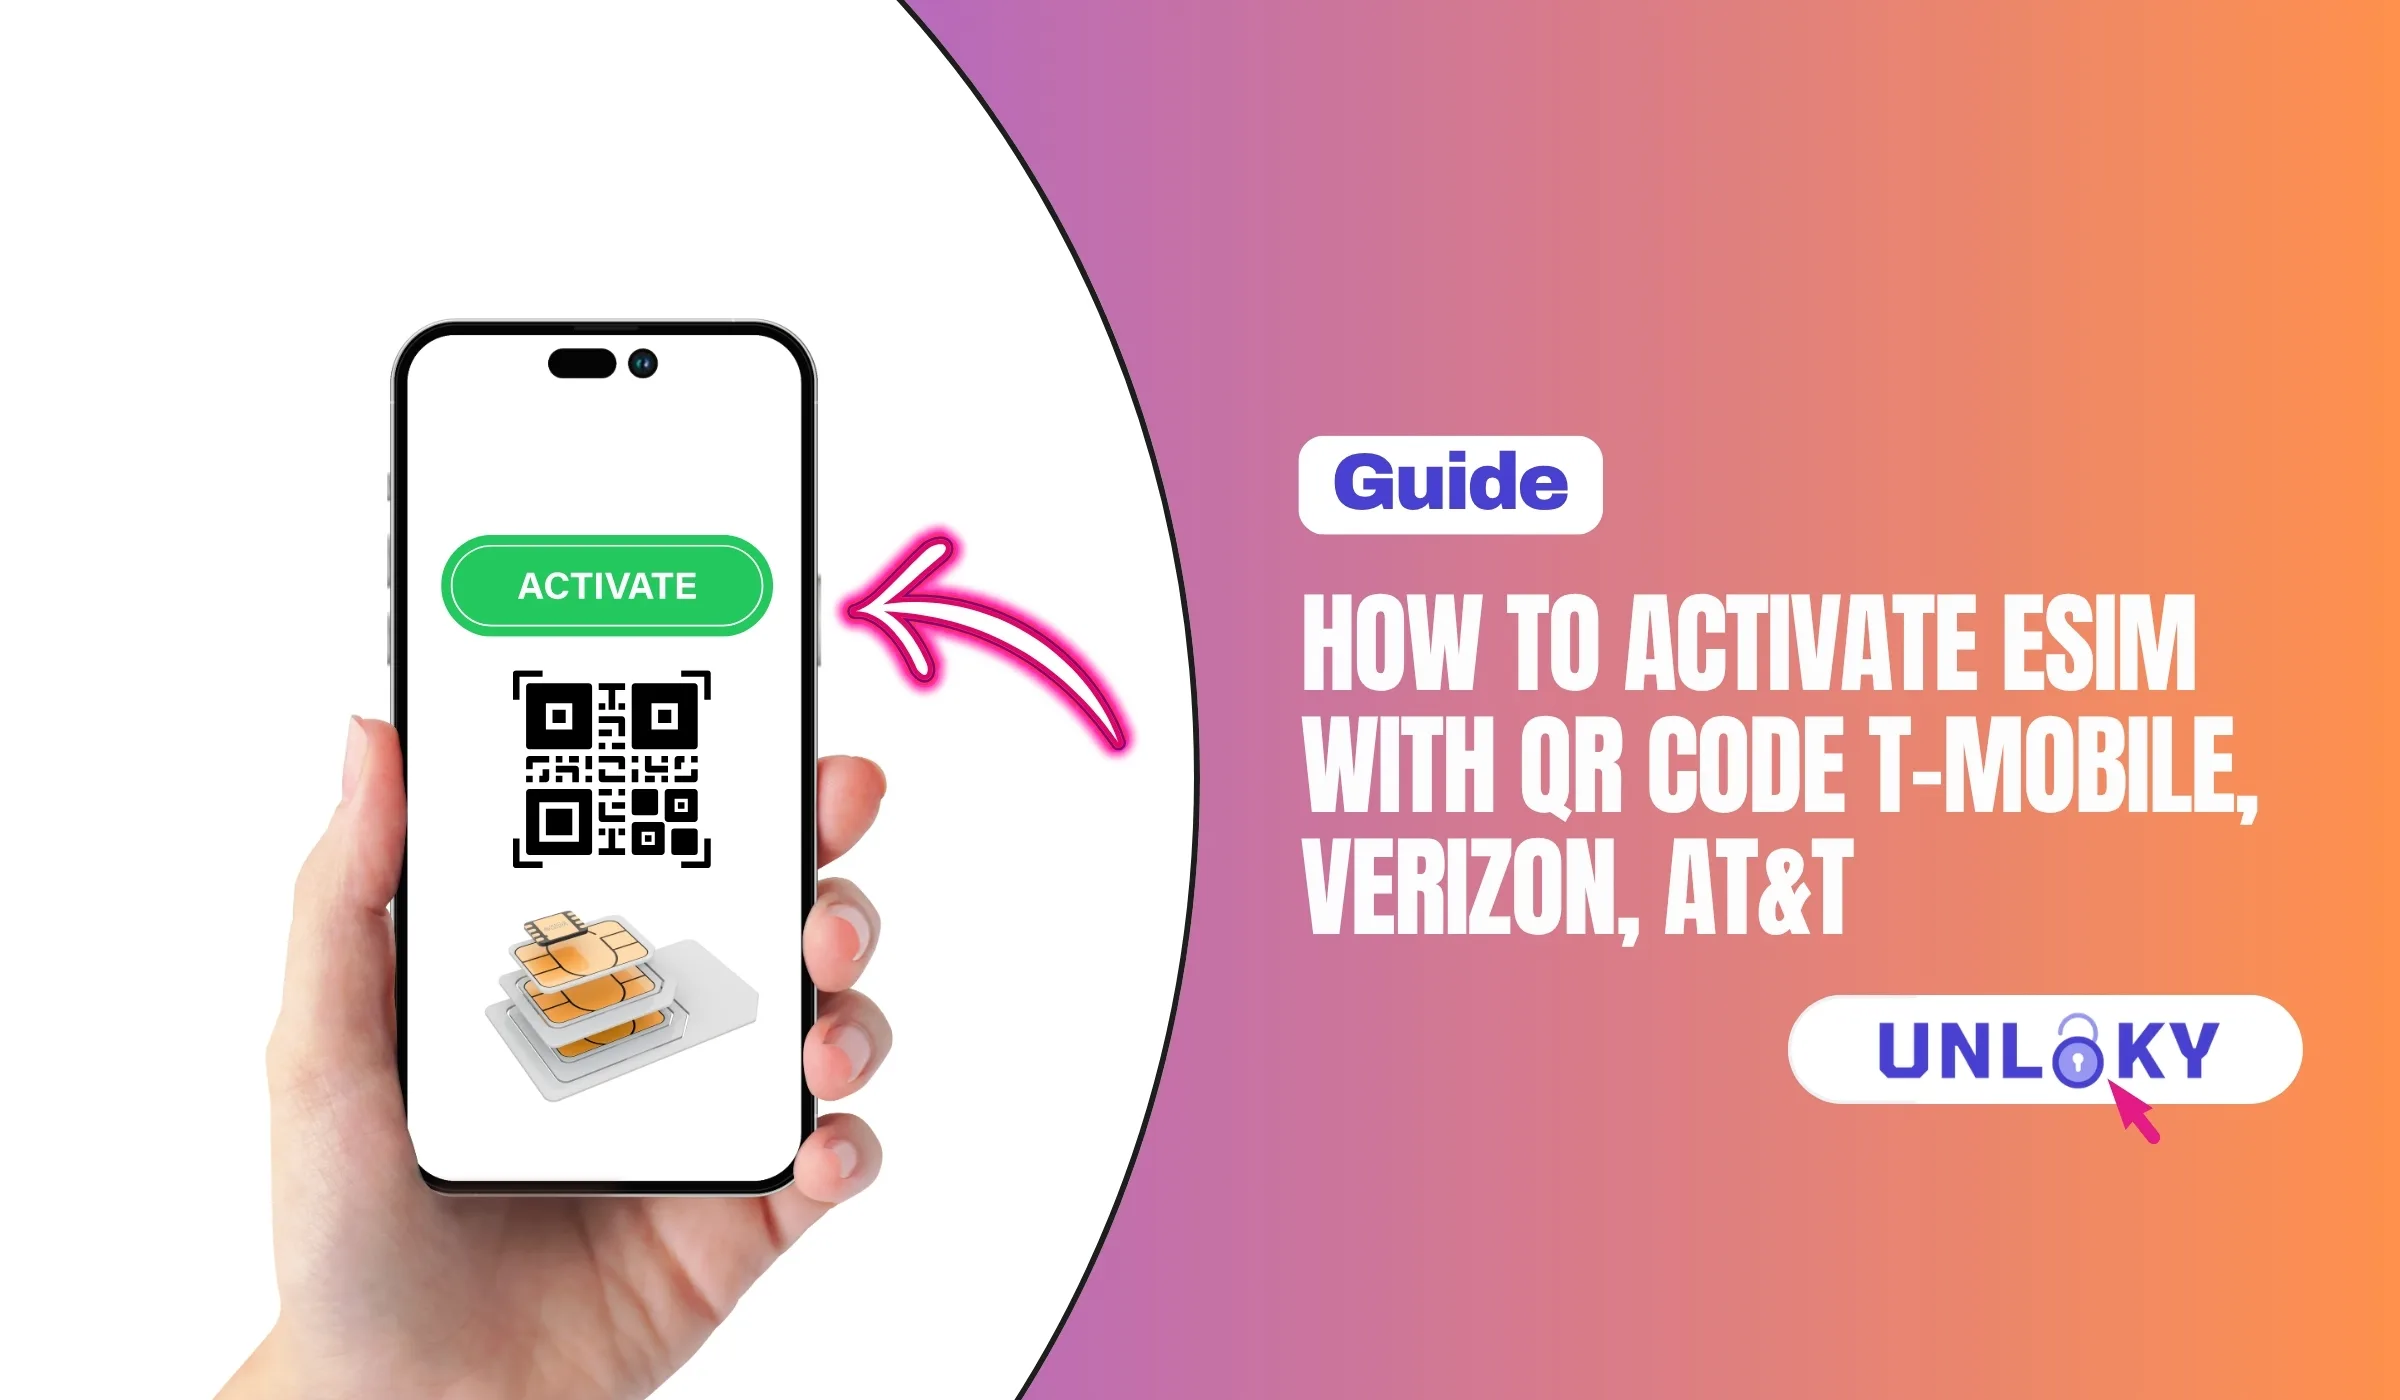
No more tiny plastic chips, no more waiting on shipping. If your phone supports eSIM, you can scan a QR code, watch a profile install, and be on a cellular network in under five minutes. Here’s exactly how it works on the three big US carriers — and what to do when the QR code refuses to cooperate.
TL;DR — Quick Answer
Activating an eSIM with a QR code, in one paragraph
Connect to Wi-Fi, open your phone’s Cellular or Mobile Network settings, pick “Add eSIM” (or “Add Cellular Plan”), then scan the QR code your carrier emailed you or printed on your activation card. Confirm the install, label your line, and wait a couple of minutes for it to provision. That’s the whole flow.
eSIM in 30 seconds (skip if you already know)
An eSIM is just a SIM card without the plastic. The chip is soldered onto your phone’s motherboard at the factory, and your carrier writes your account info to it over the internet. Same network, same plan, same phone number — different way of delivering it.
The QR code is the most common delivery method. Your carrier generates a unique code tied to your account and your specific device’s EID (think of it as the eSIM’s serial number). When you scan it, your phone reaches out to the carrier’s server, downloads the profile, and provisions it. Two to five minutes, end to end.
Make sure your phone is unlocked or already on the carrier you’re activating. A locked phone tied to a different carrier will refuse the install, even if everything else looks right. Dial *#06# — if you see an EID number listed, your device supports eSIM. No EID, no eSIM.
What you need before scanning
Pre-flight checklist
- A stable Wi-Fi connection. Not cellular — you can’t download the profile over the network you’re trying to activate.
- Battery above 50%. A mid-install reboot from a dead battery is the worst-case scenario.
- The latest iOS or Android update. Outdated software is a top cause of “QR code scanned but nothing happened.”
- Your QR code or activation details. Carriers send these by email, in-app, or on a physical activation card.
- A second device to display the QR code (laptop, tablet, the email on another phone) — you can’t scan a code your phone is displaying.
- An unlocked, eSIM-compatible phone. iPhone XS or newer, Pixel 3 or newer, Galaxy S20 or newer covers most cases.
T-Mobile vs Verizon vs AT&T eSIM activation — at a glance
Same general flow, three slightly different vibes. Here’s how the big three stack up.
| Feature | T-Mobile | Verizon | AT&T |
|---|---|---|---|
| QR code delivered by | Email or T-Life app | Email (or My Verizon app) | Email or physical activation card |
| App-based install (skip QR) | Yes — T-Life app | Yes — My Verizon app | Yes — myAT&T / activation page |
| Network needed during install | Wi-Fi (must be on T-Mobile network for in-app) | Wi-Fi | Wi-Fi |
| Reusable QR code? | No — single-use per device | No — single-use per device | No — single-use per device |
| Manual entry fallback | Yes (call support for SM-DP+) | Yes (call 800-922-0204) | Yes (Enter Details Manually) |
| Avg. install time | 2–5 min | 3–10 min | 3–7 min |
| Prepaid eSIM support | Yes (T-Mobile Prepaid, Metro) | Yes (Verizon Prepaid) | Yes (AT&T Prepaid kit) |
| Support phone | 1-800-937-8997 | 1-800-922-0204 | 1-800-331-0500 |
How to activate a T-Mobile eSIM with a QR code
T-Mobile leans hard into the T-Life app for eSIM installs, but the QR code flow still works fine — especially if you’re activating on a non-T-Mobile network or transferring from a different carrier. The most common gotcha here is forgetting to disable SIM Protection before you start.
Works for postpaid, prepaid, and Metro by T-Mobile
iPhone (iOS 17 and later)
- Connect your iPhone to Wi-Fi. Don’t skip this — install will fail otherwise.
- Open the email from T-Mobile containing your QR code on a second device (laptop or another phone).
- On your iPhone, go to Settings → Cellular → Add eSIM → Use QR Code.
- Point the camera at the QR code. iPhone detects “Cellular Plan Detected” — tap Continue.
- Label your plans (Personal, Work, etc.), pick your default line for calls and data, then tap Done.
- Wait 2–5 minutes for the T-Mobile network to register. The eSIM is live when signal bars appear.
Android (Pixel, Galaxy, OnePlus, etc.)
- Connect to Wi-Fi and pull up the QR code on a second screen.
- Open Settings → Network & Internet → SIMs → Add SIM (on Samsung: Connections → SIM Manager → Add eSIM).
- Choose Download a SIM instead or Scan QR code.
- Aim your phone’s camera at the QR code and let it scan.
- Tap Download, accept any prompts, and label the line when finished.
- Open the dialer, type *#06#, confirm the EID matches what T-Mobile has on file.
T-Mobile often skips the QR code entirely. Open the T-Life app while connected to the T-Mobile network, tap Manage → your line → SIM transfer or activation, and follow the in-app prompts. If your device is asking for a QR code and you don’t have one, call T-Mobile support and they’ll email a new one tied to your device’s EID.
T-Mobile support can email a fresh code tied to your EID.
Call 1-800-937-8997How to activate a Verizon eSIM with a QR code
Verizon’s flow is the most app-driven of the three. They’d rather you install through My Verizon, but a QR code via email is still standard — especially for iPads and certain Android models that require it. If you’ve ordered a new device from Verizon, the eSIM often transfers automatically the second you boot it up.
Postpaid, prepaid, and Verizon Business

iPhone
- Connect to a strong Wi-Fi network. Verizon’s install will hang on weak connections.
- If you already ordered service, check your email for the Verizon eSIM activation QR code. Display it on a second device.
- On your iPhone, go to Settings → Cellular → Add Cellular Plan.
- Frame the QR code in the camera. When “Cellular Plan Detected” appears, tap Continue.
- Set this as your primary or secondary line, confirm Verizon as the iMessage and FaceTime line if asked.
- Wait for the “Activating Verizon” screen to finish — allow up to 5 minutes.
- When you see the “Verizon is active” screen, tap Done. Make a test call to confirm.
Android
- Make sure Wi-Fi is on and you’re connected.
- Open the My Verizon app — log in and the app can install the eSIM directly without scanning.
- If you’d rather use the QR code: go to Settings → Connections → SIM Manager → Add eSIM (Samsung) or Settings → Network & Internet → SIMs → Add eSIM (Pixel).
- Choose Scan QR code and aim at the code Verizon emailed.
- Approve the download, wait for “Verizon” to appear in your signal bar.
This catches a lot of people. If you ran “Erase All Content and Settings” without picking “Erase All & Keep Data Plans,” your eSIM is gone. You’ll need to call Verizon at 1-800-922-0204 to trigger an eSIM restore — they’ll then email a fresh QR code.
Open 8 AM–7 PM Mon–Sat, 8 AM–5 PM Sun (Eastern).
Call 1-800-922-0204How to activate an AT&T eSIM with a QR code
AT&T is the most QR-centric of the three. When you order a new line online or buy an AT&T Prepaid eSIM kit, the QR code shows up either in an email or printed on a physical activation card. The good news: AT&T’s “Enter Details Manually” fallback is surfaced clearly, which saves you when a QR code won’t scan.
Postpaid, AT&T Prepaid, and Cricket Wireless
iPhone
- Connect to Wi-Fi and pull up the QR code (email or activation card).
- Open Settings → Cellular → Add eSIM → Use QR Code.
- Point the camera at the QR code. If it won’t scan, tap Enter Details Manually at the bottom and type in the SM-DP+ address and activation code from your email.
- Tap Continue, label your plans, then choose your default line for calls and data.
- If you also want cellular data switching between lines, toggle that on, then tap Done.
- Wait for the “Activating” screen to disappear — usually 3–7 minutes.
Android (Samsung, Pixel, Motorola)
- Connect to Wi-Fi and have the QR code ready on a second screen.
- Open Settings → Connections → SIM Manager → Add eSIM (Samsung) or Settings → Network & Internet → SIMs (Pixel/stock Android).
- Tap Scan carrier QR code or Download a SIM instead.
- Scan the AT&T QR code. Approve the download.
- If you got a free text from AT&T after activation, click the URL it contains to confirm setup.
- Restart your phone once activation finishes. This forces a clean registration to the AT&T network.
If you bought an AT&T Prepaid eSIM kit, the QR code is on the activation card. Scan it, follow the prompts, and you’ll get a confirmation text once your initial payment processes. If activation hangs, head to att.com/activateprepaid from a second device and enter your eSIM ICCID and IMEI manually.
Common eSIM activation scenarios
Most people don’t activate an eSIM in a vacuum — there’s a reason behind it. Here’s the right move for each common situation.
QR code won’t scan or install fails — here’s what to try
Most eSIM activation problems trace back to one of five things. Walk this list top to bottom before you call support.
Switch to a different Wi-Fi network if you can, or move closer to the router. eSIM downloads from the carrier’s server are sensitive to weak signal. Public Wi-Fi captive portals are especially flaky.
Most carrier QR codes are single-use. Once installed (or partially installed) on any device, they expire. If you deleted the eSIM and need to reinstall, you’ll need a fresh code — call the carrier.
Carrier QR codes are tied to your device’s EID (the eSIM’s serial number). If you bought a different phone than the one on file, the install will fail. Dial *#06# to find your EID, then update it with your carrier.
A phone locked to Verizon won’t accept a T-Mobile eSIM, even if everything else is correct. Check Settings → General → About → Carrier Lock on iPhone. If it doesn’t say “No SIM restrictions,” you need an unlock first.
T-Mobile, Verizon, and AT&T now offer SIM Protection toggles in their apps. If yours is on, activations to new devices may be blocked. Disable it temporarily, complete the install, then re-enable.
Every carrier supports manual eSIM entry. On iPhone, look for “Enter Details Manually” below the QR scanner. On Android, choose “Enter activation code.” Your carrier can email you the SM-DP+ address and activation code directly.
Sometimes the cellular radio just gets stuck. Restart the phone, reconnect to Wi-Fi, then try the install again. This sounds dumb. It works probably 30% of the time.
Never delete the eSIM you’re currently using until the new one is fully active. Deleting an installed eSIM is permanent — you can’t just “re-scan” the same QR code. If your new eSIM activation hangs, you’ll be left with no service on either profile. Always test calls and data on the new eSIM before removing the old one.
Frequently Asked Questions
No. Carrier eSIM QR codes are single-use and tied to a specific device EID. Once you scan and install on one phone, the code is consumed. If you switch devices, you need to either request a new QR code from your carrier or use their app’s “transfer to new device” flow.
You need Wi-Fi, not cellular. The eSIM profile downloads from your carrier’s servers over the internet — and obviously you don’t have cellular yet (that’s what you’re activating). Make sure your Wi-Fi connection is stable and ideally not on a public network with a captive portal login.
Try displaying it on a brighter screen, increase contrast, and make sure your camera isn’t focusing on glare. If it still won’t work, tap “Enter Details Manually” on iPhone or “Enter activation code” on Android. Your carrier will provide the SM-DP+ address and activation code — same result as scanning.
The QR code scan itself is instant. The profile download and network registration usually takes 2–5 minutes for T-Mobile, 3–10 minutes for Verizon, and 3–7 minutes for AT&T. If you’re still not seeing signal bars after 15 minutes, restart your phone. If still nothing, call carrier support.
Yes — that’s called Dual SIM and most modern phones support it. iPhones since the XS line, Pixels since the 3, and recent Samsung flagships all let you run one physical SIM plus one eSIM, or two eSIMs simultaneously. You’ll be able to set a default line for calls, messages, and data independently.
Functionally, none — both install the same eSIM profile. The carrier app is usually faster because it doesn’t require scanning anything, and it can handle the transfer if you’re moving an existing line to a new device. The QR code is more universal and works even if the app isn’t installed yet.
The information in this guide is accurate as of May 2026 and is provided for educational purposes. Carrier eSIM procedures, app names, and support phone numbers can change without notice — always confirm the latest instructions on your carrier’s official support page (T-Mobile.com, Verizon.com, AT&T.com) before troubleshooting. This guide does not constitute professional technical advice. Contact your carrier directly if you suspect unauthorized activity on your account.