TL;DR — Quick Answer
Most eSIM transfer failures after a carrier unlock come down to three things — your iPhone still thinks it’s locked, the carrier hasn’t refreshed the eSIM profile, or you skipped a carrier-side step. The fix is usually fast.
Settings → General → About → No SIM RestrictionsWhy Does eSIM Transfer Fail After an Unlock?
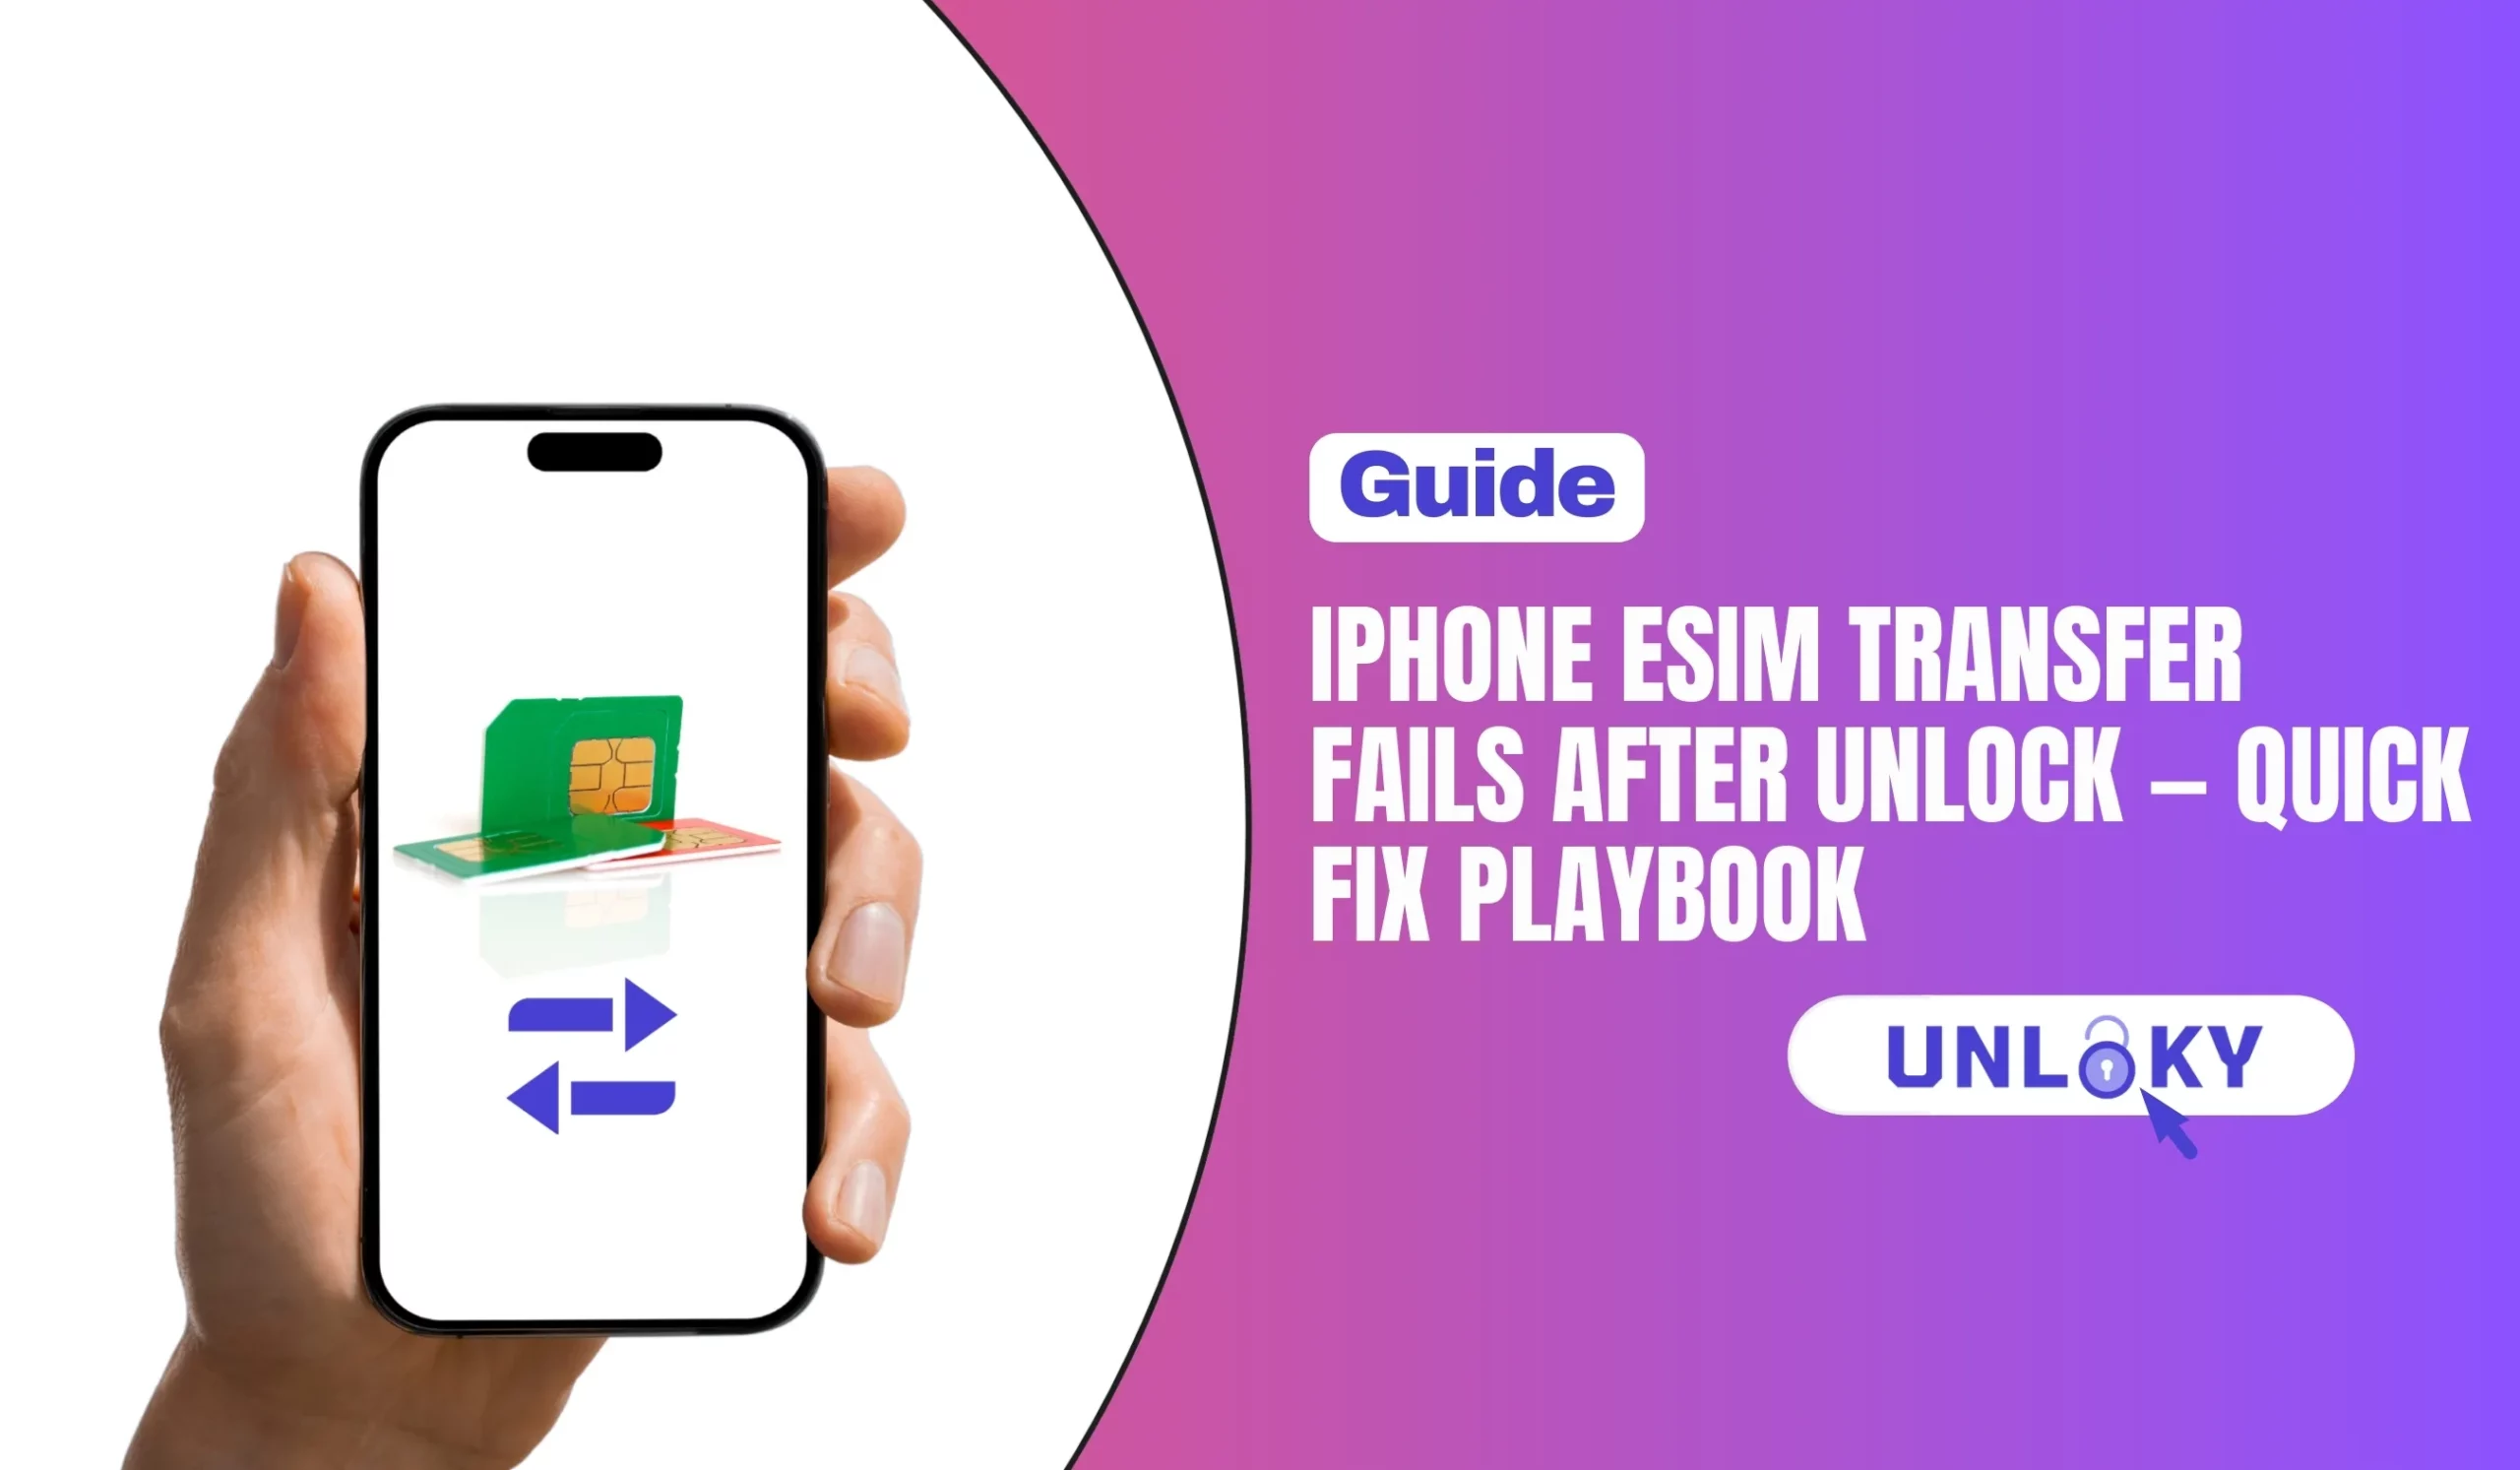
Getting a carrier unlock is supposed to free your iPhone. But a lot of people run into a wall the moment they try to move their eSIM to a new plan — the transfer just stalls, throws a cryptic error, or quietly does nothing. It’s frustrating, especially when you’ve done everything “right.”
The truth is, an unlock and an eSIM transfer are two completely separate processes. Unlocking tells Apple and your carrier that the phone is free to use with other networks. But the eSIM profile — the tiny digital file that holds your cellular plan — is still sitting on your old carrier’s servers. Until that profile is properly transferred or re-issued, you’re stuck.
Your carrier may have flipped the unlock switch, but your iPhone hasn’t fetched the updated status yet. A restart or carrier settings update usually solves this.
Carriers don’t allow the same eSIM profile running on two phones at once. If the old device still has it active, the transfer will be rejected automatically.
Unpaid balances, missing verification, or account holds are silent killers. The transfer fails without a useful error message, leaving you guessing.
eSIM Quick Transfer requires iOS 16 or later. Running an old version — or old carrier settings — breaks the handshake between devices entirely.
Step 0 — Confirm Your iPhone Is Actually Unlocked
Before trying anything else, make absolutely sure your phone’s unlock went through. It sounds obvious, but this is the step most people skip — and it’s often the root cause.
If you see a carrier name instead of “No SIM restrictions,” try these first: insert a physical SIM from a different carrier (just for 30 seconds), then check again. Sometimes the iPhone needs a nudge to check in with Apple’s activation servers and refresh the lock status.
Apple’s Official Steps — Do These First
Apple has a clear troubleshooting sequence for eSIM issues, and it’s worth following in order. These are all non-destructive, quick to run, and fix the majority of transfer failures.
Swipe into Control Center and switch Airplane Mode on, wait 30–60 seconds, then turn it back off. This forces your iPhone to re-register on the network and can kick a stalled eSIM activation loose.
Go to Settings → General → About. If there’s a carrier update pending, your iPhone will prompt you immediately. Tap Update. Outdated carrier settings are a surprisingly common reason eSIM transfers silently fail.
Head to Settings → Cellular. If the number you’re trying to activate shows up there, tap on it and toggle the line off, wait a few seconds, then toggle it back on. This refreshes the line registration.
A full restart — not just locking the screen — clears network state that a simple toggle can’t. Hold the side button + volume, slide to power off, wait 10 seconds, then power back on.
If you’re on iOS 18 or later, download the Apple Support app and run a device diagnostic. It can specifically identify what’s blocking your eSIM activation — something manual troubleshooting often misses.
The Three Ways to Transfer an eSIM (And When Each Works)
| Transfer Method | Requires | Works When | Status |
|---|---|---|---|
| eSIM Quick Transfer | iOS 16+, Bluetooth on, both phones nearby | Same carrier, both devices support Quick Transfer | Fastest |
| QR Code from Carrier | Internet connection, carrier-issued QR | Carrier doesn’t support Quick Transfer, or after an unlock | Reliable |
| Manual SM-DP+ Entry | Activation code, SM-DP+ server address from carrier | QR code is expired or unavailable | Fallback |
| Carrier App Activation | Carrier’s official app, account login | Carrier app supports in-app eSIM setup | Carrier-specific |
| eSIM Carrier Activation | Carrier supports automatic push | Carrier pushes the profile automatically during setup | Seamless |
Carrier-Specific Steps That Actually Work
Apple can only do so much. If the issue is on the carrier side — a stale profile, an account flag, or a porting glitch — you’ll need to go through them directly. Here’s what to ask for at each major carrier.
T-Mobile
- Call T-Mobile and ask them to “push a new eSIM profile” to your EID — not your IMEI. Have your EID ready from
Settings → General → About. - If you see Error 501, that’s T-Mobile’s code for a device that’s locked or incompatible. If you unlocked recently, they need to manually clear the lock flag on their end.
- Ask for a manual SM-DP+ code if the QR they sent is expired or already been scanned. QR codes are one-time-use — the carrier has to issue a fresh one.
- SIM Protection enabled? Log into your T-Mobile account online and disable it under account settings before trying to activate again.
AT&T
- AT&T’s eSIM activation often requires identity verification — don’t skip this step or the profile push will fail silently.
- If the transfer errors with “contact AT&T,” call their dedicated eSIM line and ask them to re-provision your line to your new EID.
- Have your account number, the last 4 digits of your SSN, and your iPhone’s EID ready — AT&T asks for all three during eSIM troubleshooting.
- If you’re on an older plan, AT&T may need to migrate your account to a compatible plan before eSIM will work.
Verizon
- Verizon’s eSIM activation is heavily tied to their website — many users report success by going through verizon.com/activate rather than calling support directly.
- Log in, select your device, and choose “Transfer or New Device” — this re-triggers the eSIM provisioning without needing a support rep.
- If activation is still stuck, ask your Verizon rep to update the EID associated with your line in their system. This is the most common fix after switching devices.
- Verizon’s eSIM profiles can get stuck in “pending” — ask support to cancel the pending eSIM order and create a fresh one linked to your current EID.
Settings → General → About before you call.When to Delete the eSIM — And When Not To
A lot of guides tell you to “delete the eSIM and start fresh” as a first step. That advice is often wrong. Deleting an eSIM profile from your iPhone is permanent — the carrier has to issue you a new one, and that takes time. Here’s a clear breakdown of when it actually makes sense.
Delete eSIM When…
- You’ve confirmed your new eSIM is fully active and working
- You’re porting away from a carrier permanently
- The profile is corrupted and causing activation loops
- Your carrier explicitly instructs you to remove it first
- You’re running out of eSIM profile slots (max 10)
Don’t Delete eSIM When…
- Your new eSIM hasn’t activated yet — you’ll lose service
- You’re in the middle of a port — wait for confirmation
- You haven’t backed up the activation code (one-time use)
- You’re troubleshooting — try everything else first
- Your carrier hasn’t confirmed the new profile is live
Settings → Cellular → [Old Plan] → Remove Cellular Plan.Last Resort — Reset Network Settings
If none of the above worked, a Network Settings Reset clears incorrect configurations without wiping your data. Think of it as a clean slate for your iPhone’s radio stack.
Go to Settings → General → Transfer or Reset iPhone → Reset → Reset Network Settings. This erases saved Wi-Fi passwords and VPN configs, so note those down first. After resetting, try the eSIM activation again.
Error Messages vs. What They Actually Mean
| Error / Symptom | Most Likely Cause | Fix |
|---|---|---|
| “There was an issue transferring your eSIM” | Carrier server hiccup or locked device | Try manual setup or contact carrier eSIM team |
| “eSIM Not Supported” / “Not Compatible” | Phone is still carrier-locked | Confirm unlock status, request carrier to clear lock |
| Error 501 (T-Mobile) | Device locked or eSIM incompatible per carrier records | Request unlock confirmation, contact T-Mobile eSIM desk |
| No carrier in status bar after activation | Profile installed but not yet active | Toggle line off/on, Airplane Mode cycle, restart |
| Activation stuck at “Activating…” | Carrier server delay or stale profile | Wait 15 mins, then try Airplane Mode toggle |
| QR code won’t scan or says “already used” | QR is one-time use and was already scanned | Request a new QR from carrier |
| iMessage/FaceTime shows email, not number | Number didn’t register with Apple’s servers | Toggle iMessage off and back on in Settings |
Not usually. eSIM Quick Transfer is designed for same-carrier transfers. After a carrier unlock, you’re typically switching networks, which Quick Transfer doesn’t support. Use a QR code from your new carrier or manual SM-DP+ activation instead — both work reliably after an unlock.
Go to Settings → General → About and scroll down. You’ll see both your IMEI and your EID listed there. The EID is the unique identifier for your iPhone’s embedded SIM chip — carriers need this (not your IMEI) to provision a new eSIM profile to your device.
First, go to Settings → Cellular and make sure the new line is set as your Default Voice Line and Cellular Data line. Then restart your iPhone. If calls still don’t work, toggle the line off and on from the cellular menu. If that doesn’t help, call your carrier — the line may not be fully provisioned on their backend yet, even if the eSIM profile shows as installed on your iPhone.
iPhones can store up to 10 eSIM profiles at once, though only one or two can be active simultaneously depending on your model. If you’re hitting the 10-profile limit, you’ll need to delete an old one before adding a new plan. To see and manage your profiles, go to Settings → Cellular and you’ll see each plan listed there.
No — don’t delete the old eSIM until the new one is fully active and confirmed working. eSIM deletion on iPhone is permanent, and the carrier will need to re-issue a new profile if something goes wrong. Wait until you’ve verified calls, texts, and mobile data on the new line before removing the old plan.
It can on some carriers, but generally no — eSIM profiles are stored separately from network configuration settings. That said, it’s worth confirming with your carrier before you reset, especially if your eSIM is already partially set up. After a network reset, you may need to re-enter your Wi-Fi passwords and reconfigure VPN, but your eSIM profile should remain intact.
eSIM QR codes are one-time-use by design. Once scanned — even if the activation failed midway — the QR is invalidated. Contact your carrier and ask them to issue a new eSIM QR code or a manual SM-DP+ activation code. This is a common situation and carriers handle it quickly once you explain what happened.
If you’ve gone through every step here and the transfer is still failing, the issue is almost certainly on the carrier’s backend — not your iPhone. Call them with your EID, ask them to re-provision the eSIM profile, and escalate to their eSIM support team if needed. It’s a 5-minute fix once you’re talking to the right person.