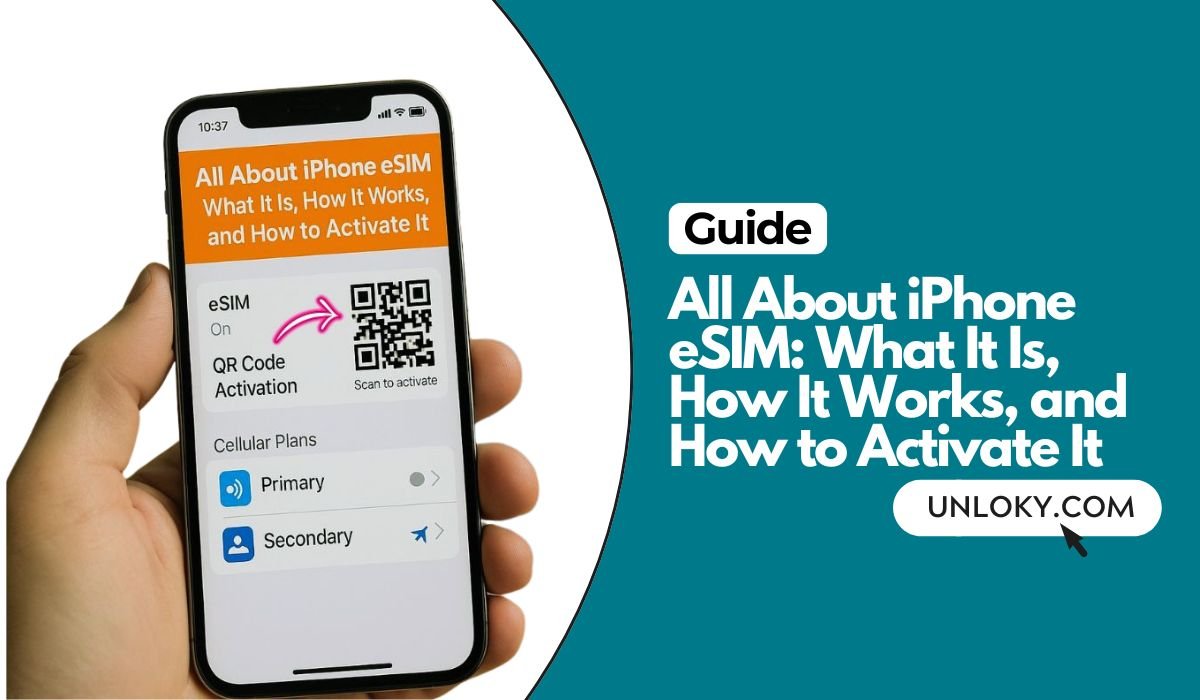
An eSIM turns your iPhone into a flexible, travel-ready phone without tiny plastic cards. It’s built into the device, it’s secure, and it makes switching carriers or adding a second line much easier. This guide walks you through everything: what eSIM is, which iPhones support it, how to activate it step-by-step, how to transfer it to a new iPhone, and how to fix common problems. The language is plain, the steps are clear, and the tips are practical—perfect whether you’re new to eSIM or you just need a solid refresher.
Key Takeaways
- eSIM = digital SIM: It’s a built-in, rewritable profile that replaces plastic SIM cards and lets iPhone authenticate on a carrier network without a tray.
- Easy activation: Activate over Wi-Fi via QR code, carrier app, Quick Transfer, or by converting a physical SIM (if your carrier supports it).
- Dual-line flexibility: Most recent iPhones can keep multiple plans stored and run two lines active at once—perfect for Work/Personal or Home/Travel.
- Travel smart: Use a data-only travel eSIM for cheap roaming, keep your home number for calls/SMS, and turn off data roaming on the home line.
- Know the limits: eSIM needs carrier support; some plans are data-only and re-provisioning may be required if you delete a profile or switch phones.
What Is an eSIM on iPhone?
An eSIM (embedded SIM) is a small, rewritable chip soldered inside your iPhone. It does the same job as a physical SIM card—authenticates your device on a mobile network—but without a removable tray. Your carrier writes a digital plan to the chip using a secure activation process (QR code, app, or automatic transfer). You can store multiple eSIM plans on one iPhone and choose which ones are active.
Why it matters:
No more juggling cards. You can add a travel data plan in minutes, keep your main number for calls, and switch lines right in Settings. It’s faster, safer, and harder to lose or clone.
📖 Also Read: The Best 5 Samsung Network Unlock Tools
Key Benefits of Using eSIM on iPhone
Instant Setup
You can activate a plan in minutes using a QR code, a carrier app, or Quick Transfer from your old iPhone—no store visit needed.
Dual Lines, One Phone
Run two lines at the same time (for example, Work + Personal or Home + Travel). You can set one for calls and texts, and another for data.
Travel-Friendly
Buy local or global data eSIMs before a trip. Land, turn on the eSIM, and you’re online—no roaming shock or SIM hunting at the airport.
Security & Reliability
Because it’s embedded, an eSIM can’t be removed if a phone is lost or stolen. That helps with tracking and reduces some forms of SIM-swap fraud.
Greener & Smaller
Fewer plastic cards, less packaging, and one less slot to worry about. Many newer iPhones ship without a SIM tray in certain regions.
Which iPhones Support eSIM?
- iPhone XS / XS Max / XR and newer: eSIM capable.
- iPhone 13 and later: can use Dual eSIM (two eSIMs active at once) on many models/regions.
- iPhone 14 and newer (USA models): typically eSIM-only, no physical SIM tray.
- Storage capacity: iPhone can keep multiple eSIM plans stored. Usually, two lines can be active at the same time; the total number of stored plans varies by model and region.
Tip: If you’re unsure, open Settings → General → About and look for EID (that’s your eSIM ID). If it’s there, your phone supports eSIM.
📖 Also Read: How to Unlock Phone Free with IMEI Number?
Are There Any Requirements?
Carrier Support
Your carrier must support eSIM activation on iPhone. Most major carriers and many MVNOs do. For travel eSIMs, a lot of third-party providers work great for data.
iOS Version
Keep iOS up to date. Newer iOS versions add smoother eSIM transfer, better labeling, and more reliable activation.
Unlocked vs. Carrier-Locked
A carrier-locked iPhone can usually add an eSIM from that same carrier only until it’s unlocked. If you want to use eSIMs from other carriers, you’ll need your phone unlocked (or wait until your carrier’s unlock policy allows it).
How to Activate an eSIM on iPhone (Step-by-Step)
You can activate an eSIM in several ways. The exact flow depends on the carrier and iOS version, but the steps below cover the most common paths.
Method 1 — Scan a QR Code from Your Carrier
- Make sure you’re connected to Wi-Fi.
- Go to Settings → Cellular (or Mobile Service).
- Tap Add eSIM (or Add Cellular Plan).
- Choose Use QR Code and point the camera at the code your carrier provided.
- Follow the prompts to add the plan.
- When asked, choose which line is Default for calls/texts and which is for Cellular Data.
- Wait for activation to complete and test with a call or data check.
Where to find the QR code: In a carrier email, a printed card, your account dashboard, or a carrier store. Some providers show a manual code you can enter if the camera scan isn’t available.
Method 2 — Activate Through a Carrier App
- Download your carrier’s app from the App Store.
- Sign in and choose Activate eSIM (wording varies).
- The app pushes the eSIM plan to your phone automatically.
- Finish setup in Settings → Cellular and set line labels and defaults.
Good for: MVNOs and travel eSIMs that send activation directly inside the app.
Method 3 — Quick Transfer from Your Old iPhone
If both iPhones are yours and signed into iCloud:
- On the new iPhone, go to Settings → Cellular → Add eSIM.
- Select Transfer from Another iPhone (or similar option).
- On the old iPhone, confirm the transfer prompt.
- Wait for activation, then set your default line and data plan on the new iPhone.
Why this is great: No QR code needed. Your number moves securely over iCloud, usually within minutes.
Method 4 — Convert a Physical SIM to eSIM (If Supported)
Some carriers let you convert an existing physical SIM on the same phone:
- Go to Settings → Cellular.
- Tap your physical SIM line.
- Look for Convert to eSIM (or Convert Cellular Plan to eSIM).
- Follow the prompts and confirm.
- After conversion, remove the old physical SIM (if your iPhone has a tray) and restart if asked.
Note: If you don’t see the option, your carrier might not support conversion. Ask them for a fresh eSIM or use a QR code flow.
📖 Also Read: How to Unlock a Blacklisted iPhone 17/16/15?
Managing Multiple eSIMs and Dual Lines
Add, Label, and Prioritize Lines
- Label lines (e.g., “Personal,” “Work,” “Travel”) during setup or later in Settings → Cellular → [Line] → Label.
- Choose a Default Voice Line for calls and Default Line for Messages (iMessage/FaceTime can use either).
- Set Cellular Data to a specific line, and toggle Allow Cellular Data Switching if you want the phone to use the other line’s data when needed.
Two Active Lines at Once
- You can run two active lines (often both eSIMs) for calls, texts, and data.
- Pick which line handles data. Calls and texts can still come in on the other line when possible.
Storing More Than Two Plans
- Keep several eSIM plans stored (for example, different travel countries).
- Only two can be active at the same time. Switch which ones are active in Settings → Cellular without deleting any.
Pro Tip: When you land in a new country, enable your Travel eSIM for data while keeping your home line active for calls and two-factor codes.
Transferring Your eSIM to a New iPhone
Quick Transfer (Best for iPhone-to-iPhone)
- Start the new iPhone setup near the old iPhone and follow the onscreen prompts.
- When asked to transfer your phone number, approve on the old iPhone.
- After the transfer, test calls and data.
Re-Download from Carrier (If Needed)
- Some carriers let you re-download the same eSIM to your new iPhone from your account app or portal.
- If the carrier requires it, delete the eSIM from the old phone first (after confirming your line will be re-issued).
QR Code Re-Activation
- Request a new QR code from your carrier and add the plan on the new iPhone (see Method 1).
Important: If your iPhone is carrier-locked, you can usually transfer the eSIM within that same carrier. To use a different carrier on the new phone, you’ll need the phone unlocked first.
Using eSIM for International Travel
Add a Local or Global Data eSIM
Before you fly, buy a plan from your carrier or a travel eSIM provider. They’ll email a QR code or let you activate inside their app. Turn it on when you land.
Keep Your Main Number for Calls & SMS
Make your home number the default for calls and texts, but set Cellular Data to the Travel eSIM. That way, friends still reach your normal number while you enjoy local data rates.
Disable Data Roaming on the Home Line
To avoid unexpected charges, open Settings → Cellular → [Home Line] and turn off Data Roaming. Leave roaming enabled only on the Travel line.
APN and Hotspot
If data works but hotspot doesn’t, check Settings → Cellular → [Travel Line] → Cellular Data Network for a Personal Hotspot APN. Some travel eSIMs don’t allow tethering.
Costs, Limits, and Fine Print
- Plan cost: Varies a lot. Carriers often price eSIM plans like physical SIM plans. Travel eSIMs sell data in bundles (e.g., 3GB/7 days).
- Hotspot/tethering: Not always included. Check plan details.
- Number of stored eSIMs: Multiple stored, two active at once; exact limits depend on model and region.
- VoLTE/VoWiFi: Typically supported if your carrier supports them on iPhone eSIM.
- Emergency services: Make sure your eSIM line supports emergency calling in your region; some travel data eSIMs are data-only.
Troubleshooting eSIM on iPhone
“No Service” or “Activation Failed”
- Confirm you’re on Wi-Fi during activation.
- Toggle Airplane Mode on/off.
- Go to Settings → General → About; if you see a Carrier Settings Update prompt, accept it.
- Update to the latest iOS.
- If still failing, remove and re-add the eSIM, or ask your carrier to re-issue it.
eSIM Transfer Not Showing
- Make sure both iPhones are on the latest iOS and signed into the same Apple ID with Bluetooth on.
- Try Settings → Cellular → Add eSIM → Transfer from Nearby iPhone.
- If the prompt never appears, use your carrier app or a QR code.
Data Works, but No Calls or SMS
- Open Settings → Cellular → [Line] and check that Voice is enabled for that line.
- Set the correct line as Default Voice Line.
- Verify the plan isn’t data-only (common with travel eSIMs).
iMessage or FaceTime Not Registering
- Under Settings → Messages → Send & Receive, enable your number.
- Toggle iMessage and FaceTime off and on.
- Make sure the line you want is active and able to receive SMS for activation.
Personal Hotspot Missing
- Confirm your plan includes hotspot.
- Check Settings → Cellular → [Line] → Cellular Data Network for APN fields.
- Restart the iPhone after editing APN entries.
“Plan Not Allowed” or “SIM Not Supported”
- This often means a carrier lock. If the iPhone is locked to Carrier A, an eSIM from Carrier B won’t activate.
- Check Settings → General → About → Carrier Lock. If it says No SIM restrictions, the phone is unlocked.
Weak Signal on the Travel eSIM
- Open Settings → Cellular → Network Selection and try toggling Automatic off to manually pick a local partner network.
- If data is slow, check if the plan supports 5G in that country. Some travel plans are 4G LTE only.
Privacy, Security, and Backup Tips
Safer Than a Removable Card
Because there’s no card to swap, eSIM helps reduce certain kinds of SIM-swap attacks. It also makes a stolen phone easier to track if the line stays active.
Use a Passcode and Find My
Always secure your iPhone with a strong passcode and keep Find My enabled. If you ever lose the device, you can mark it as lost and erase it remotely.
Backups and eSIM
iCloud and iTunes do not back up the eSIM profile itself. But they back up your line labels and settings. If you replace the phone, you’ll either Quick Transfer, re-download, or scan a QR to get the plan back.
FAQs
1) What is needed to activate eSIM on iPhone?
You need an eSIM-capable iPhone, a carrier or travel eSIM that supports iPhone, a stable Wi-Fi connection for download, and either a QR code, a carrier app, or Apple’s Quick Transfer. Keeping iOS updated and having your device unlocked (or using the same carrier) helps avoid activation errors.
2) What is the downside of eSIM iPhone?
There’s no physical card to swap in a pinch, so moving service can depend on your carrier re-issuing the eSIM. Some carriers/MVNOs still have limited eSIM support or charge fees. A few travel eSIMs are data-only (no voice/SMS). When a phone is lost or dead, you can’t move the line instantly with a card—you must recover or re-provision the eSIM.
3) How does eSIM work on your iPhone?
An eSIM is a digital version of a SIM. Your carrier securely writes a mobile plan to the phone’s embedded chip. iPhone then uses that plan to authenticate on the network—just like a plastic SIM—letting you place calls, send texts, and use data. You can store multiple plans and keep up to two lines active at once (model/region dependent).
4) How to use eSIM correctly?
Activate over Wi-Fi, follow the QR/app prompts, then:
- Label lines (Personal, Work, Travel).
- Set Default Voice and Cellular Data in Settings → Cellular.
- For trips, turn off Data Roaming on your home line and set the travel eSIM as the data line.
- Keep the QR/code email; if you delete a plan, you may need the carrier to re-issue it.
- Test calls, SMS, data, hotspot before relying on it.
5) Can I use an eSIM for calls and texts?
Yes—if the plan includes voice and SMS. Many standard carrier eSIMs support calls/texts like a normal SIM. Some travel eSIMs are data-only; use VoIP apps or keep your home line active for calls/SMS. Wi-Fi Calling and iMessage/FaceTime also work when supported.
6) Do I turn mobile data off when using eSIM?
Not necessarily. eSIM is just the plan—you choose which line uses data. For travel, set your Travel eSIM as the data line and disable data roaming on your home line. If you want to save data, you can turn mobile data off entirely, but most people just route data to the correct line and leave the other line for calls/SMS only.
Quick Setup Checklist (Print-Friendly)
- Check carrier eSIM support and your iPhone’s unlock status.
- Update iOS and accept any Carrier Settings Update.
- Choose activation method: QR code, carrier app, Quick Transfer, or Convert to eSIM.
- Label lines and set Default Voice and Cellular Data.
- For travel, disable roaming on your home line and set the travel eSIM as data.
- Test calls, SMS, data, and hotspot before you rely on it.
Real-World Use Cases
Work + Personal
Keep Personal for family and WhatsApp; set Work as the default for calls during business hours. Toggle data to Personal on weekends.
Frequent Traveler
Store eSIMs for your most-visited countries. Enable the right one when you land, keep your home line on for two-factor codes.
Budget Optimizer
Run a low-cost data-only eSIM for streaming and navigation, and keep a small voice/SMS plan on another line for calls and verification texts.
The Final Thoughts
eSIM on iPhone is simple once you see it in action. It replaces plastic with a secure, software-based setup that you can manage in a few taps. Whether you want the freedom of two lines, cheaper travel data, or fewer trips to a carrier store, eSIM delivers. Start with one plan, try a second, and fine-tune your default settings. After that, you’ll wonder how you ever lived with tiny SIM cards.