Traveling soon and want cheap, reliable data without surprise roaming fees? The key is using an unlocked phone. “Locked” means your device only accepts SIMs from your current carrier. “Unlocked” means it can use any compatible local SIM or eSIM perfect for Canada, the UK, and countries across Europe.
In this guide, I’ll explain unlocking in plain language, show you how to check your phone’s status, and walk you through the exact steps to request an unlock if you need it. I’ll also set expectations on timing (anywhere from same day to a few business days, depending on your carrier and account status) and cover basic compatibility checks (LTE/5G bands, VoLTE, and eSIM support) so there are no surprises when you land. By the end, you’ll know the fastest, safest way to get online abroad—at local prices.
TL;DR:
Activate on arrival. Insert/activate the SIM or eSIM, enable data roaming on that line, set the APN if needed, then test data, calls, and texts.
Check if it’s unlocked. On iPhone, go to Settings → General → About and look for “Carrier Lock: No SIM restrictions.” On Android, insert a different carrier’s SIM or check your Network/Carrier settings. If it works or shows “unlocked,” you’re good.
If locked, request an unlock now. Contact your carrier (online or app). Make sure the phone is paid off and your account is in good standing. Approvals can take from a few hours to a few days—start early.
Pick the right plan. Choose a local SIM/eSIM for Canada, the UK, or a regional Europe eSIM if you’ll visit multiple countries. This is usually the best value for “how to unlock phone for international travel” and to use a US phone in Europe/UK/Canada at local rates.
What “unlocking” really means
When a phone is “locked,” it only accepts SIMs from the original carrier. Unlocking removes that limit. After you unlock, you can use a SIM or eSIM from any compatible network around the world.
On iPhone, carrier unlocks are account-based. Once your carrier approves the request, your iPhone usually unlocks over the air. On Android, older models often use a one-time unlock code. Newer devices may also unlock over the air, especially if sold directly by the carrier.
Unlocking does not jailbreak your phone, erase your data, or break your warranty when done through the carrier. It simply lets the phone register on other networks.
Will your phone work abroad?
Unlocking is step one. Step two is making sure the phone’s radio bands and features match networks in Canada, the UK, and continental Europe.
Cellular bands and tech in plain English
Most modern phones support 4G LTE and 5G bands used in North America and Europe. Still, there are differences by model and region. If your phone is a recent iPhone, Samsung Galaxy, Google Pixel, or other mainstream flagship, you’re usually fine. Very old, US-only, or budget imports may miss key bands.
- Canada: Nationwide 4G/5G from Rogers, Bell, and Telus (and their sub-brands). Urban coverage is strong; rural coverage varies by carrier.
- United Kingdom: 4G/5G from EE, O2, Vodafone, and Three (plus MVNOs). City coverage is excellent; countryside varies.
- European Union: 4G/5G across many carriers. EU countries share many common bands, so a modern globally-sold phone usually works across borders.
📖 Also Read: How to Unlock Your Phone to Use With eSIM Only (No Physical SIM)
Voice over LTE and Wi-Fi Calling
Carriers in Canada, the UK, and the EU rely on 4G/5G for voice using VoLTE. Make sure your phone supports VoLTE and that it’s enabled. If your phone falls back to 3G for calls, you may have issues because many places have shut 3G down. Wi-Fi Calling helps in weak-signal spots like basements or stone buildings.
Dual SIM and eSIM
Dual SIM makes travel painless. Many phones let you run two lines at once (one eSIM + one physical SIM, or dual eSIM on some models). Keep your home number active for banks and 2FA, and add a local travel plan for data and cheap local calls. If your phone supports eSIM, you can buy and activate service digitally without hunting for a store.
Pro tip: Name each line (Home, Travel) and set the right defaults for data and calls. That prevents surprise roaming charges on the wrong line.
Step-by-step: Unlock your phone before you fly
Step 1: Check your lock status
- iPhone: Settings → General → About → Carrier Lock. If it says “No SIM restrictions,” your phone is already unlocked.
- Android: Settings → About phone → SIM status or Network unlock status (wording differs). Alternatively, insert a non-home-carrier SIM; if it works, you’re unlocked.
Step 2: Find your IMEI
You’ll need your IMEI for carrier requests. Dial *#06#, or check:
- iPhone: Settings → General → About → IMEI
- Android: Settings → About phone → IMEI
Step 3: Request the official unlock
Every carrier has rules. In general, your device must be paid off, not reported lost or stolen, and your account should be in good standing. If you bought the phone unlocked from the manufacturer (Apple, Samsung, Google), skip this step.
Submit the unlock request through your carrier’s website or app. Some carriers approve instantly; others take up to a few days.
Step 4: Complete the unlock
- iPhone: After approval, connect to Wi-Fi or cellular and restart. The unlock applies automatically.
- Android (older models): You may receive a SIM network unlock PIN. Insert a non-carrier SIM, enter the code, and you’re done. If you see “MCK” or “PUK,” that’s different (see troubleshooting below).
Step 5: Test it
Insert a different carrier’s SIM or add a test eSIM. Place a quick call or run a speed test. If everything works, you’re travel-ready.
📖 Also Read: Unlocking a Foldable Phone: Galaxy Z Fold vs Flip
Set up service when you land: Roaming vs local SIM vs travel eSIM
You have three main options. The right pick depends on price, convenience, and how many countries you’ll visit.
Option 1: Use your home carrier’s roaming pass
Many carriers sell day passes or monthly international add-ons. These are simple: you keep your number, and your phone just works when you land. Downside: daily fees add up fast for longer trips, and speeds can be deprioritized.
Best for short trips, business travel, or when you need your home number to work exactly the same way.
Option 2: Buy a local prepaid SIM in Canada, the UK, or an EU country
Local SIMs tend to offer the best value per GB and solid speeds. In Canada, you’ll be on a provider under Rogers, Bell, or Telus. In the UK, look for EE, O2, Vodafone, Three, or their MVNOs. Across the EU, every country has multiple prepaid choices.
What to expect:
- You may need ID to purchase and register a SIM.
- You’ll get a local number, which is great for local calls and deliveries.
- Plans often include hotspot use, but always check the terms.
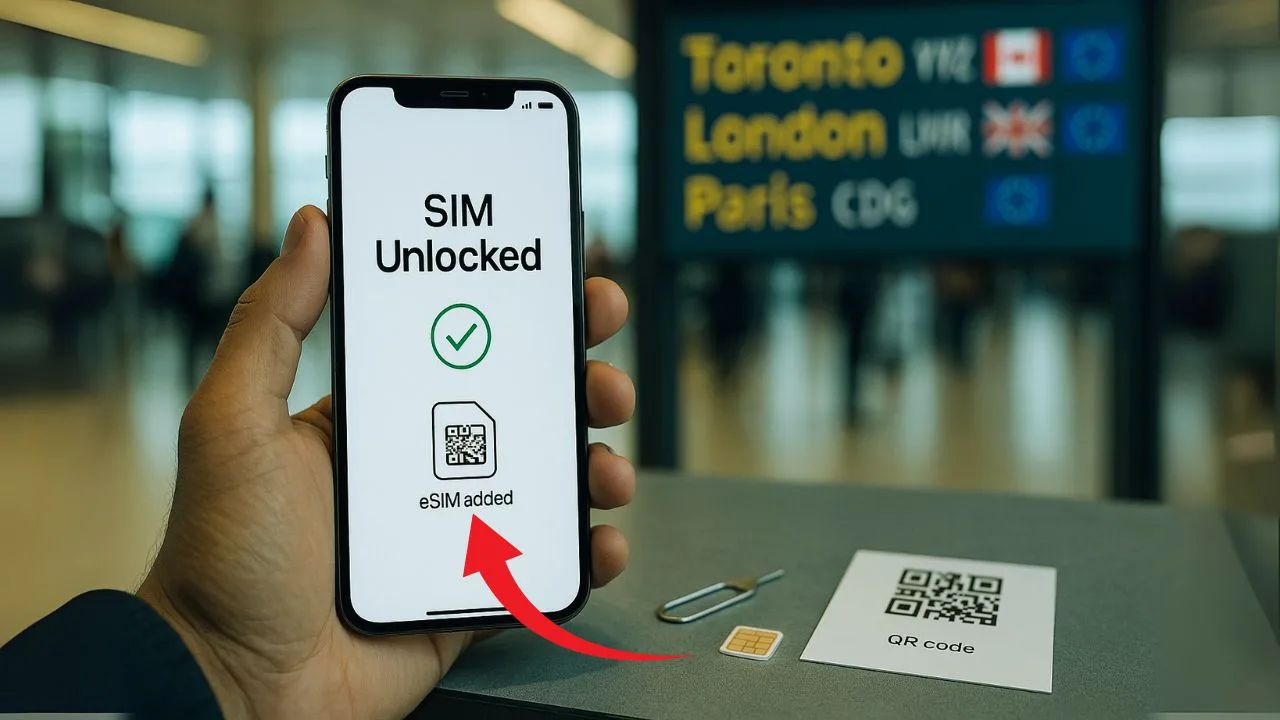
Option 3: Activate a regional travel eSIM
Regional eSIMs cover multiple countries with one purchase. You scan a QR code or use an app, and service starts instantly. Many offer data-only plans, while some include voice and SMS. This is ideal if you’ll move between the UK and EU or across several EU countries.
Best for multi-country trips where you don’t want to swap SIMs at every border.
Which option is best?
Think about:
- Trip length: A weekend? Roaming pass. Two weeks or more? Local SIM or regional eSIM.
- Number of countries: One country? Local SIM. Several countries? Regional eSIM.
- Keep home number alive? Use dual SIM: home line for calls/2FA, travel line for data.
- Hotspot needs: Make sure your plan allows tethering if you’ll share data with a laptop.
Country and region notes you should know
Canada
Coverage in cities is strong. Rural coverage varies by carrier, so if you plan to drive in remote areas, check maps first. Data is more expensive than in many countries, so a travel eSIM can be cost-effective. VoLTE is important; make sure it’s enabled.
United Kingdom
Prepaid is easy and common. “Pay As You Go” plans often include large data buckets and free EU roaming on some providers, but always read the latest terms—roaming policies can change. 5G is widely available in cities. Indoor coverage improves with Wi-Fi Calling.
European Union
EU roaming rules let many local EU plans work across member countries with a “fair use policy.” If you buy a SIM in, say, Spain, it may include roaming in France, Italy, and Germany up to a limit. Regional eSIMs are also popular because they simplify borders. Make sure your plan includes hotspot if you need it.
📖 Also Read: IMEI Cleaning vs IMEI Unlocking: What’s the Difference?
Configure your phone after you insert the SIM or add the eSIM
Most of the time, your phone auto-configures, but it’s smart to check a few settings.
APN settings in simple terms
The APN tells your phone how to connect to the internet on that network. If data isn’t working, you may need to enter APN details from the carrier. Keep it exact—spelling and case matter.
iPhone quick setup
- Insert the SIM or add the eSIM in Settings → Cellular → Add eSIM.
- Label the line (Travel) and set Cellular Data to the travel line.
- Turn on Data Roaming for the travel line.
- If data doesn’t work, go to Settings → Cellular → your travel line → Cellular Data Network and enter the APN values the carrier provides.
- Restart if needed, then test web and maps.
- For iMessage/FaceTime, give it a few minutes to activate on the new number (or keep your home line selected for iMessage if you prefer).
Android quick setup (Pixel / Samsung)
- Insert the SIM or add eSIM via Settings → Network & Internet → SIMs (Pixel) or Settings → Connections → SIM manager (Samsung).
- Choose the travel line for Mobile data and enable Data roaming.
- If data fails, open Access Point Names (APN) and add the carrier’s APN, save, and select it.
- On Samsung, make sure only one APN is active.
- Restart and test.
Personal hotspot
If your plan allows tethering, you can share data with your laptop. On iPhone, check Settings → Personal Hotspot. On Android, check Settings → Hotspot & tethering. If Hotspot fails, confirm your plan supports it and the APN includes tethering.
Common problems and easy fixes
“SIM not supported” or “SIM network unlock PIN”
Your phone is still locked. If you have an Android unlock PIN from your home carrier, insert the travel SIM and enter it. If you see requests for an MCK (Master Code), that’s different from the normal unlock PIN—contact the original carrier for help. For iPhone, make sure the unlock request is approved; try a restart on Wi-Fi.
No service or SOS only
Check you selected the travel line for Mobile data. Make sure Data roaming is on. Try Network selection → Automatic first; if that fails, pick a carrier manually from the list.
Data works, calls don’t
Turn on VoLTE if your phone has a toggle. Some carriers require a specific IMS profile delivered automatically—give it a minute on Wi-Fi with the SIM inserted. Try a restart.
Can’t send or receive SMS
Some plans are data-only by design. If you need SMS for 2FA, keep your home line active for texts, or choose a plan with SMS.
eSIM QR won’t scan
Use the carrier’s app activation instead of QR, or type the activation code manually. Ensure you have a stable Wi-Fi connection and enough storage for the eSIM profile.
iMessage/FaceTime not activating on the new number
Toggle iMessage and FaceTime off and back on. Check that the travel number is selected under Send & Receive. Sometimes activation takes up to 24 hours.
Hotspot not working
Some plans block tethering. If allowed, double-check APN fields. On Android, there may be a separate APN type for tethering.
Battery drain while roaming
Roaming and 5G can use more power. Use 5G Auto (iPhone) or 5G/LTE auto modes. Turn on Low Power Mode for long days. Download offline maps to reduce constant data use.
Safety, security, and cost tips
Keep your home SIM safe in a labeled holder. Add a PIN to your SIM if your phone supports it. Watch for public SIM resellers who ask for unnecessary personal details. Use official carrier stores or reputable kiosks inside major airports and malls.
Set usage alerts in the carrier app so you don’t blow past data caps. Many EU plans include “fair use” limits while roaming across borders; speeds can drop after a threshold. If your plan feels slow, try a different carrier at the next stop—unlocked phones give you that freedom.
Avoid calling premium numbers (they can be expensive). In an emergency, the common numbers are 112 (EU), 999/112 (UK), and 911 (Canada). Your phone will try to route the right one automatically, but knowing local numbers helps.
Quick checklists
Before you fly
- Confirm your phone is unlocked and supports 4G/5G and VoLTE.
- Back up your phone and note your IMEI.
- Decide: roaming pass, local SIM, or regional eSIM.
- Download carrier apps and offline maps.
- Add travel payment methods for easy top-ups.
When you land
- Insert the SIM or add the eSIM; label the line.
- Set the travel line for data; turn on data roaming.
- Test calls, texts, data, and hotspot.
- Keep your home line active for 2FA if needed.
- Save the carrier’s APN instructions in case you need them.
Frequently asked questions (FAQs)
Can I unlock a financed phone before travel?
Usually you must pay off the device first. Some carriers grant temporary travel exceptions (or military deployment exceptions) if your account is in good standing—ask support and provide your IMEI plus travel dates. If they refuse, your options are roaming, a temporary unlocked phone, or paying off and then unlocking.
How long does carrier unlocking take?
Anywhere from same day to a few business days. iPhones often unlock quickly once Apple’s activation policy updates; many Androids use a code that arrives by email/SMS. Apply 2–4 weeks before your trip to avoid last-minute stress.
Will emergency numbers (112/999/911) work on my unlocked phone?
Yes—emergency calling generally works regardless of unlock status or active plan, as long as you have signal. In Canada dial 911, in the UK dial 999, and across Europe 112 works. If there’s no coverage, the call may not complete, so still get a local SIM/eSIM for reliable service.
Can I keep my US number active while using a European eSIM?
Yes. Use Dual SIM/eSIM: set the European eSIM for data, and keep your US line for iMessage/OTP. To avoid surprise charges, turn off data roaming on the US line and route calls through Wi-Fi calling or apps (or add a cheap international add-on for occasional calls).
Do I need a passport/ID to buy a SIM in Canada/UK/EU?
It depends on the country and retailer. Many UK and Canadian shops sell prepaid SIMs with minimal ID, while several EU countries require passport ID to register a SIM. Bring your passport just in case, especially for in-store purchases.
Will my Apple Watch or Android smartwatch work with a foreign SIM/eSIM?
Bluetooth-paired features work fine abroad when your phone has data. For cellular (LTE) watches, international roaming and local standalone plans are limited and carrier-specific. Most travelers rely on pairing to the phone; standalone watch plans abroad may require a local carrier and billing that’s not always available.
Can I hotspot/tether on a travel plan?
Often yes, but read the plan details. Some local SIM/eSIM bundles allow tethering with a cap or fair-use limit; others block it. If hotspot fails, it may be an APN/entitlement issue—contact the provider or switch to a plan that explicitly includes tethering.
What if my phone says “SIM Not Supported” after unlock approval?
Do a clean activation: reboot, insert the non-home SIM, and connect to Wi-Fi for a few minutes. On iPhone, check for a Carrier Settings Update; on Android, you may need to enter the unlock code. If it still fails, reset network settings, reinsert the SIM/eSIM, and share your IMEI + approval email with carrier chat so they can push the unlock or correct the policy.
The Final thoughts
Unlocking gives you control. It lets you pick the best signal and the best price in Canada, the UK, and across Europe—without waiting in lines or paying high roaming fees every single day. Do the unlock at home, test your phone with a second line, and choose the right plan for your route. With a little prep, your phone becomes a simple travel tool: scan, connect, and carry on.